Guarding your Tor Exit's DNS
October 4, 2016
In the past few days, a study was released detailing some attacks against the Tor Network. These attacks made it into the news because one could compromise Tor Users’ anonymity by examining the DNS queries from exit nodes.
The argument made by the researchers is that while HTTP traffic may be encrypted, DNS traffic is sent in plaintext, and can usually traverse more networks, before it eventually reaches its final destination. In addition to that, they also discovered that about 40% of the Tor Exit Nodes use Google’s Public DNS’, in the IP Addresses 8.8.8.8, 8.8.4.4, 2001:4860:4860::8888, and 2001:4860:4860::8844.

That means that a single organization, Google, receives and responds to about 40% of the DNS queries made through Tor. Unfortunately for Tor users, this attack relies on collecting a large sum of DNS queries, which means that, Google, if they wanted to, could deanonymize a significant portion of the users.
Luckily for the Tor Network, this attack can be quickly mitigated. While the solution does not address all the issues, it can make it significantly more difficult for a malicious adversary to perform it, and removes Google from their privileged position.
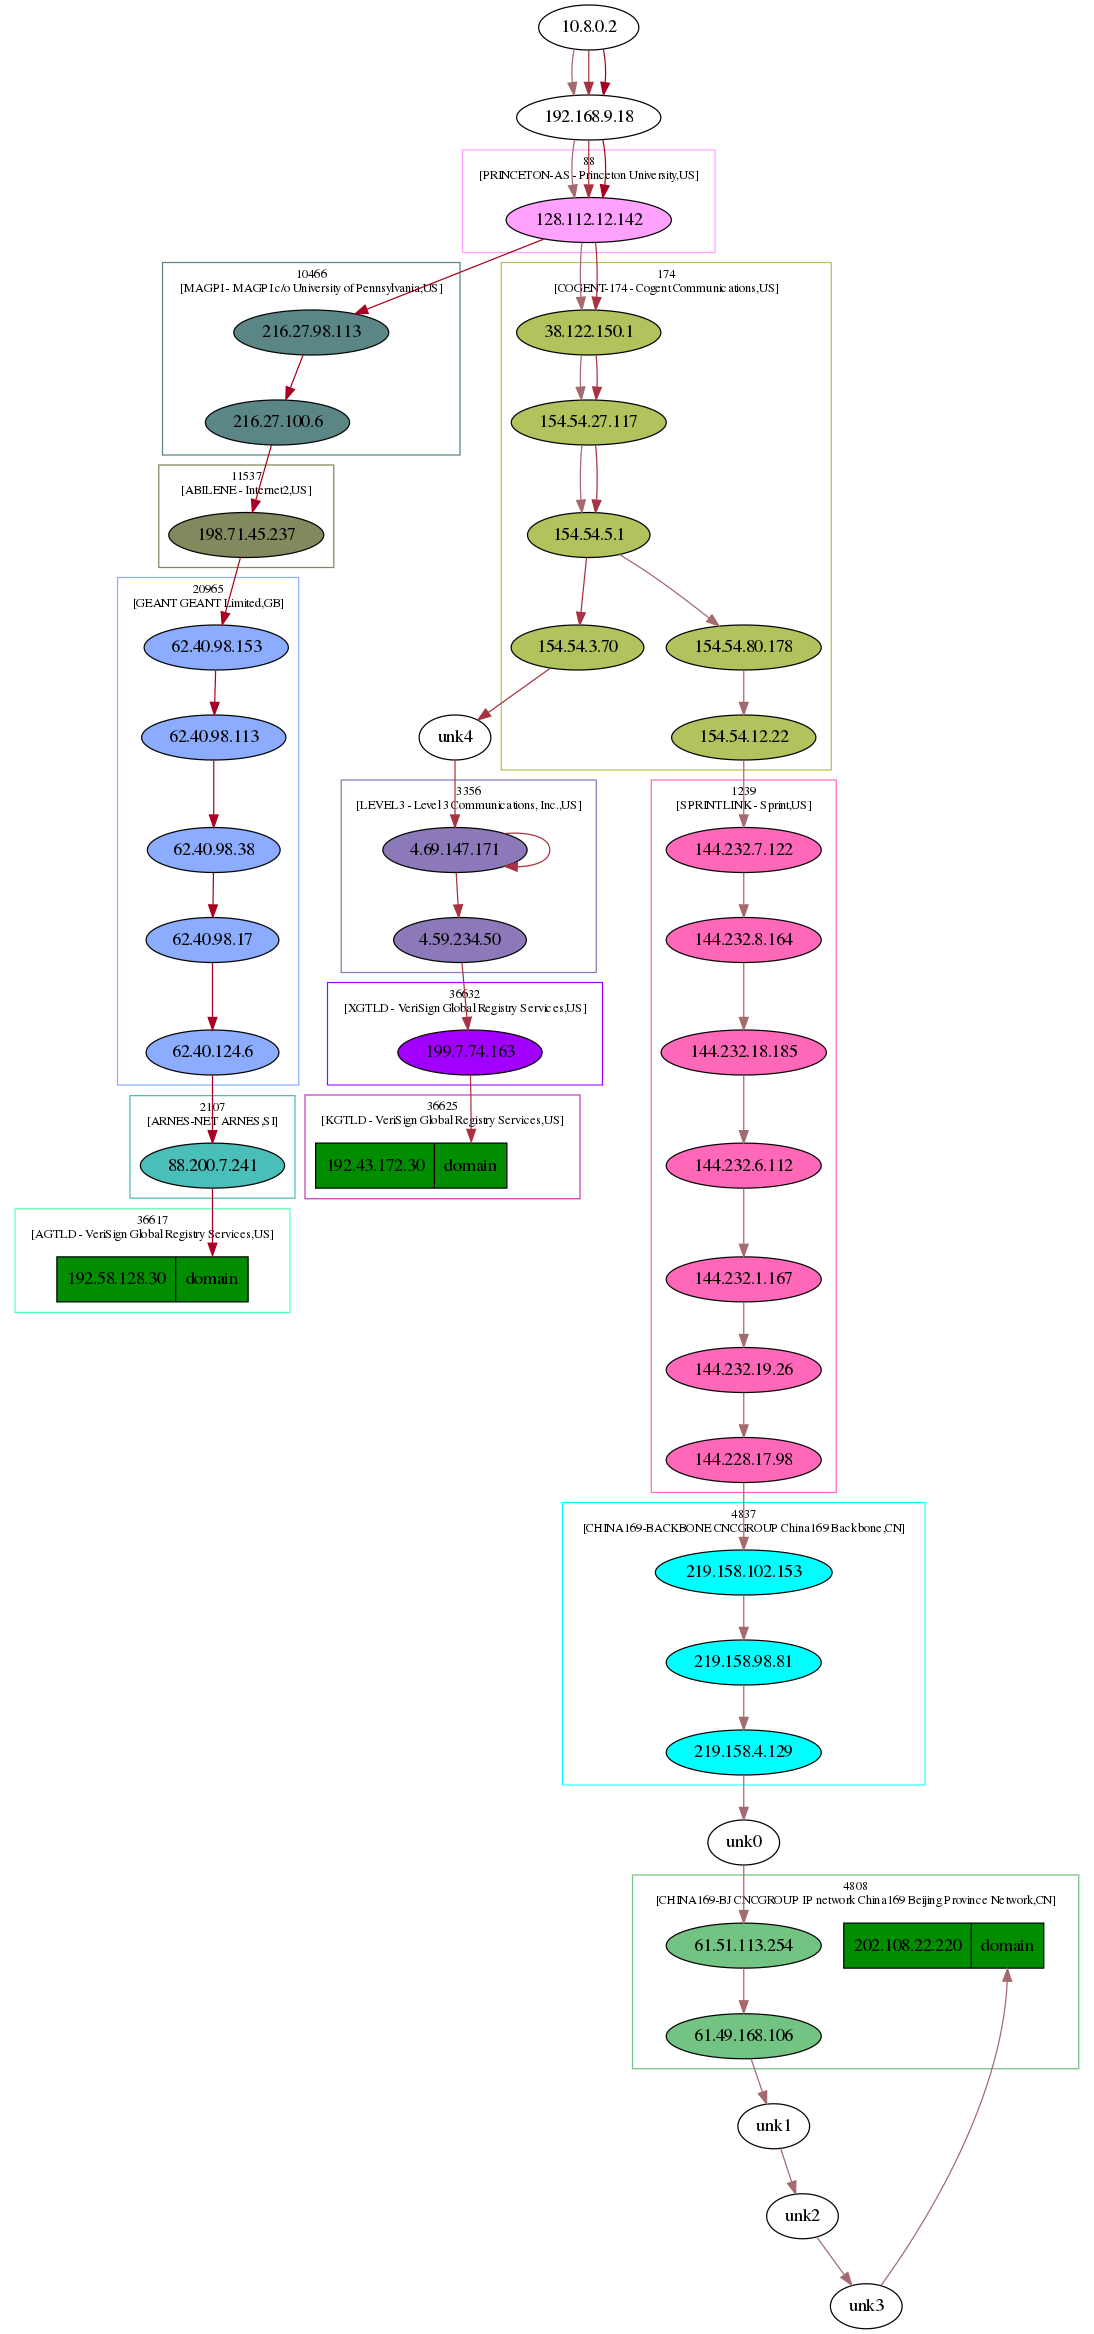
But let’s see what’s this solution. In the diagram provided by the researchers, there’s the Exit Relay, which then makes two connections, one to the DNS server, and one to the actual website’s web server:

What if that DNS connection was made, but it did not have to traverse a large amount of networks before reaching the DNS Resolver, but instead, followed a much sorter path? What if that connection wasn’t established with Google’s DNS, or any other “popular” DNS server?
By following a few simple steps below, we will see how we can protect our Tor Exit Nodes’s Users from such an attack, or at least limit the damage done / increase the cost of the attack.
As you may already know, I’m already running an Exit Node, and I have a blog post on my stories fror running it for the past 8 months. This node is running Debian Jessie, but the instructions should work perfectly on Ubuntu, as well as any other operating system, maybe with a few modifications.
Our plan is to run a DNS Resolver in the same computer as the Tor Exit Node. That means that all DNS requests will now be sent to 127.0.0.1, instead of ever traversing the Internet. This ensures that the only DNS queries that will be leaving our node are non-cached queries heading to the authoritative DNS servers. As a bonus, this technique will also reduce the latency of every connection, since now we’re contacting our local server, with the latency measured in microseconds, instead of a remote (or the ISP’s server) with a millisecond latency. Moreover, this ensures that there’s no single organization where a large percentage of queries are sent to.
To configure our server as a DNS Resolver, we simply need to run:
apt-get update && apt-get install pdns-recursor
This will download PowerDNS Recursor, a very fast and lightweight DNS server. By default, PowerDNS is configured to only allow connections from localhost (127.0.0.1), however we will be changing its configuration file a little bit to ensure it is more safe to use.
Open the file /etc/powerdns/recursor.conf that was just created and find the line allow-from=, which should be commented out. Right below it, create a new line, that will read:
allow-from=127.0.0.0/8
This will ensure that all queries to our server are answered if and only if the source is the same computer, and not someone else on the Internet.
Note that by default, at least on Debian, PowerDNS Recursor already binds to 127.0.0.1 and not 0.0.0.0, however you should be better safe than sorry. You don’t want to create an Open Resolver now, do you? (Hint: you don’t)
If you want to be extra sure, check that this line exists in the configuration file:
local-address=127.0.0.1
Now that you successfully configured PowerDNS, you need to restart it so your changes will take effect. Simply run:
service pdns-recursor restart
Congratulations! You’ve successfully created your own DNS server which you can use for the queries of all your users. However, you now need to configure it so your server, and therefore the clients will use it.
In most cases the file that contains the DNS servers that are used by the system is the /etc/resolv.conf. Use an editor to open that file and make sure that its contents are:
nameserver 127.0.0.1
After you change this file, you can reboot the server to make sure the changes have taken effect. If the file is still unchanged after the reboot, it mostly likely means your server is using its own DNS now and does not rely on an external one. If you don’t want to reboot, you should run:
service tor reload
However, just to be double sure, you can use a special PowerDNS command that will show you how many queries have been answered by your server:
rec_control get all-outqueries
If you see a number greater than 0 and that number increases over time, it is usually safe to assume that your Tor Exit Node is using your local server for all its queries. If I remember correctly, for my node, it went to thousands in the first minute, however use this as a rule of thumb and not a requirement.
Conclusion (TL;DR)
To sum up, a new attack was published against the Tor Network that allows someone to deanonymize users given enough DNS queries. In this article, in order to mitigate the attack, I am providing a tutorial on how to configure your Tor Exit Node. By following this, you are taking one more step into protecting your users, and ensuring their anonymity.